Brunel Swivel Bridge Project Photos January 2015
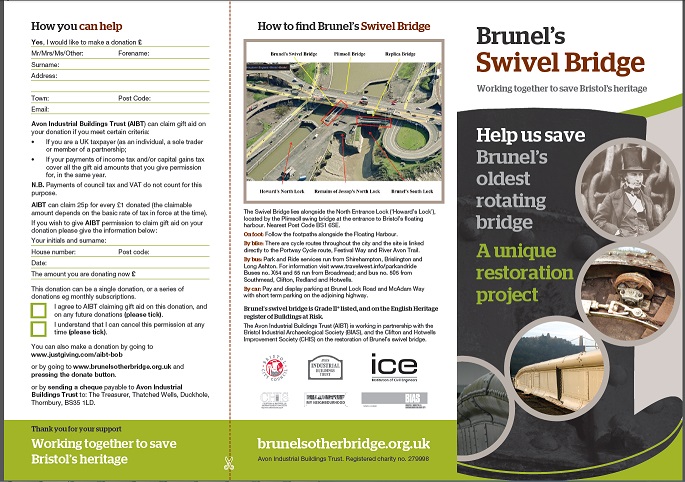
Swivel Bridge Leaflet available in the Central Library Exhibition and from the website. Leaflet gives information, asks for support and how to make a donation |
Page contents
Work PHASE B Preparation and Basic Conservation by Volunteers
- Removing some patch-repair plates to allow us to clean & inspect the inside of enclosed sections. We have agreed to carry out a permanent repair now as follows to the investigative test section. This will be done by Dorothea Restorations
- Erecting a simple timber roof
- renewal of the timber stop.
- Moving the timber and erecting our new interpretation panels
- More Cleaning and painting rusty areas
- Unbolt and release the centre pintle casting
- Jack up Bridge further
- Level and Dimensional Survey
- Metalwork condition survey using Ultrasonic equipment from DMV
- Kentledge Weight Survey
- Paint Analysis
- Site Investigation, Excavating a hole adjacent the CI bed, SE side to search for a timber foundation-beam
- Locate and obtain copies of drawings and past reports. Write a conservation plan
- Seek letters of support
Details of progress in 2015 and working days.
January 2015
Library Exhibition 5 January to 15 Feb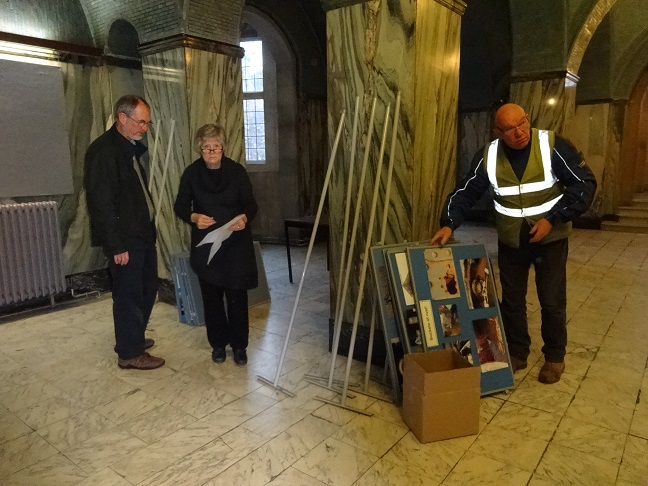
Marilyn and her husband and Mike Taylor pondering how to display boards |
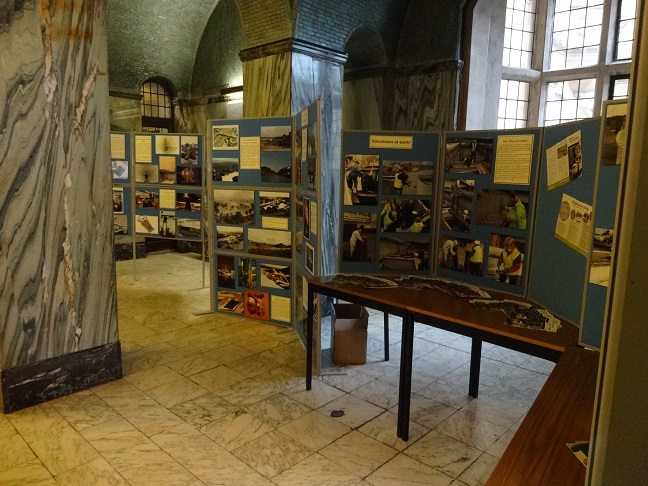
Lots of boards |
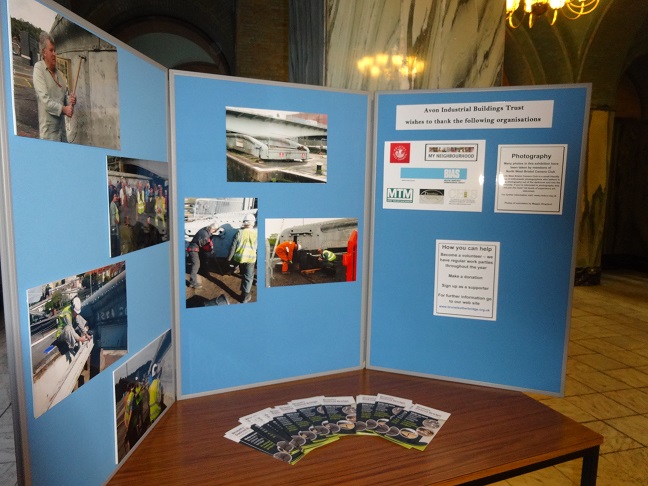
sponsor boards and our new leaflets on display |
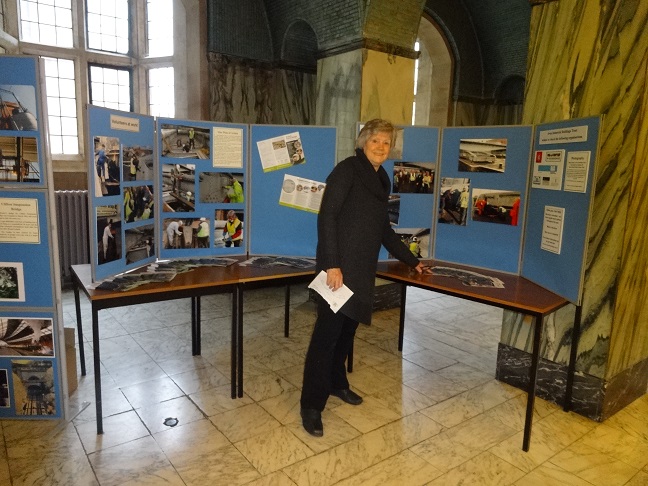
Marilyn Adams of AIBT who organised the exhibition looking relieved and happy |
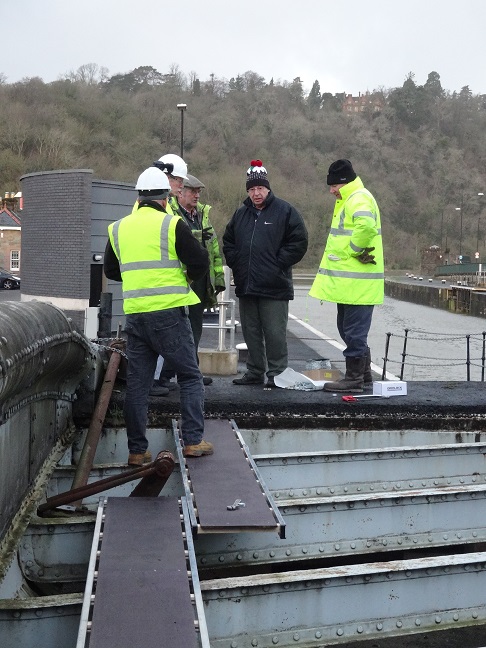
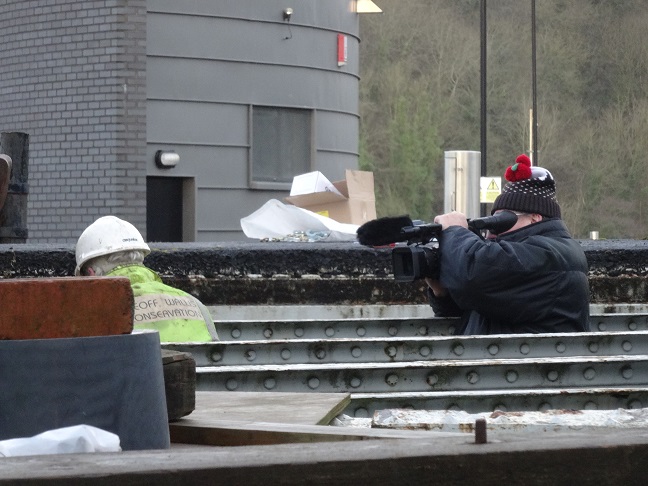
Julian from BFVS discusing how to film the project |
Geoff, Martyn, Bob and Mike securing our new boards |
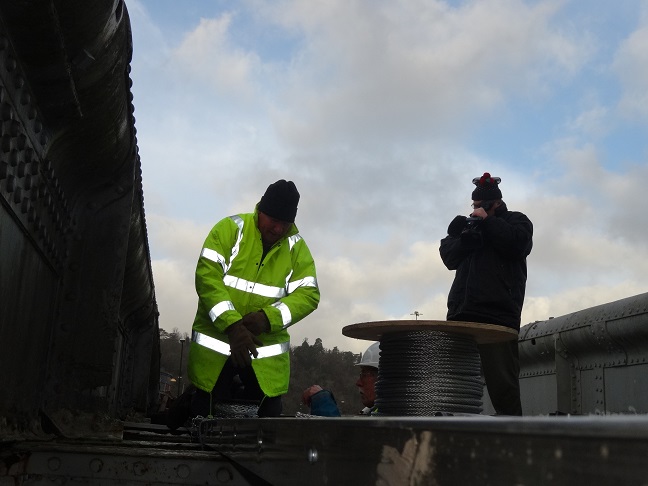
Julian filming Bob |
Julian filming Geoff |
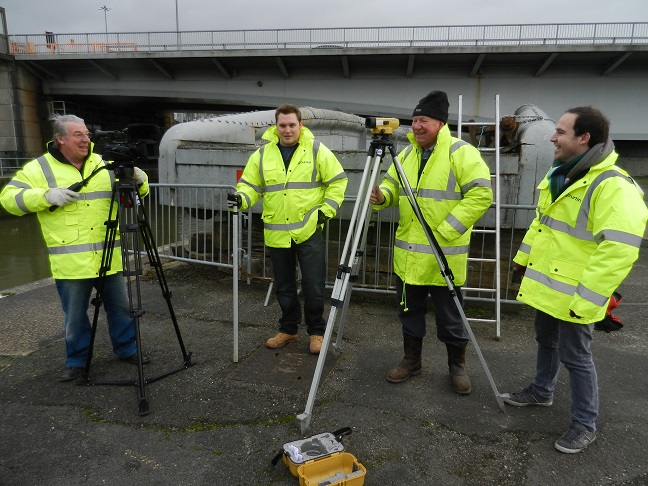
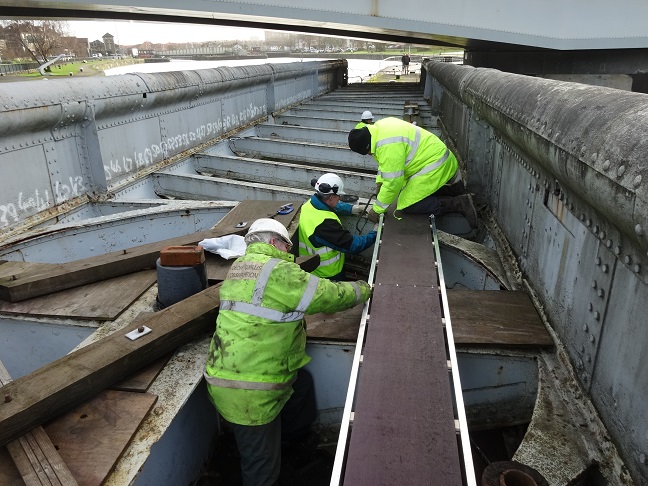
Julian, John, Bob and Tom doing the first survey of the year |
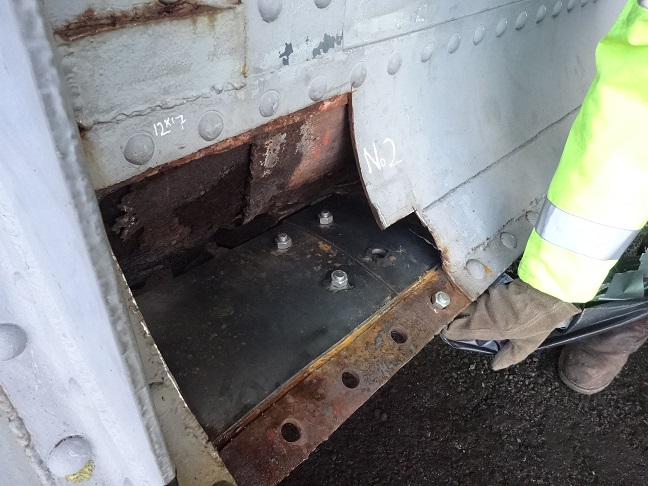
Sample Repair Plates |
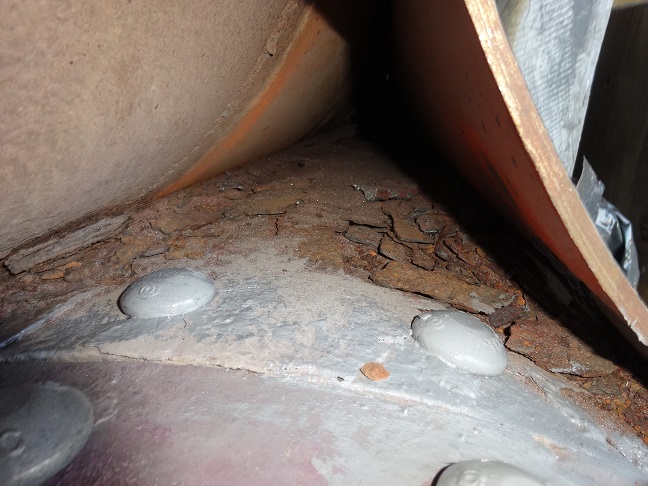
Inside the tear section |
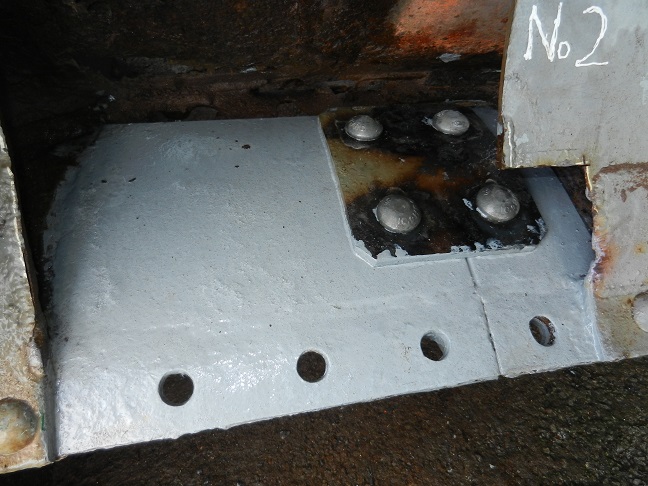
repair-plates going in on the bottom triangular section of the south side-beam |
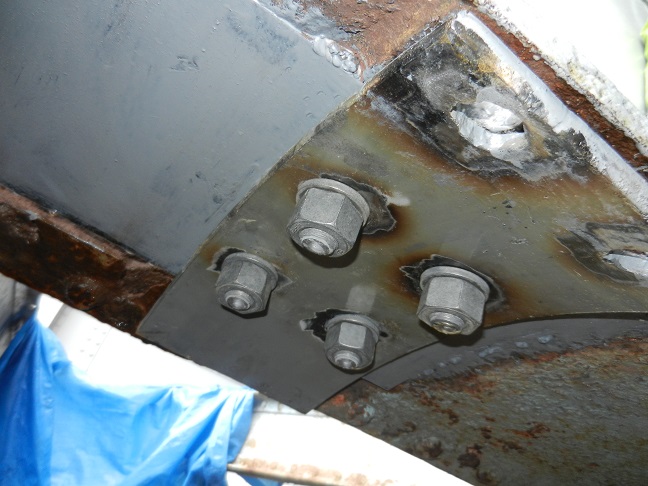
The four bolts are special high-strength friction-grip bolts put in with a special pneumatic gun that tightens them by means of a spigot on the end that breaks off when the bolt is tight enough. They are very effective, and we are considering using them where we can't get in to rivet. | 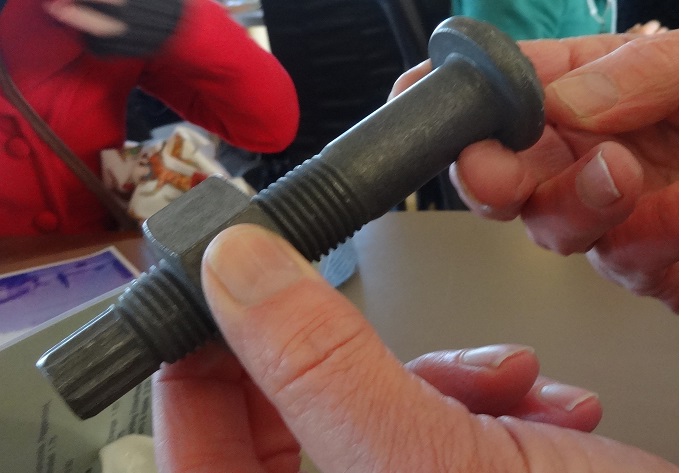
high-strength friction bolt |
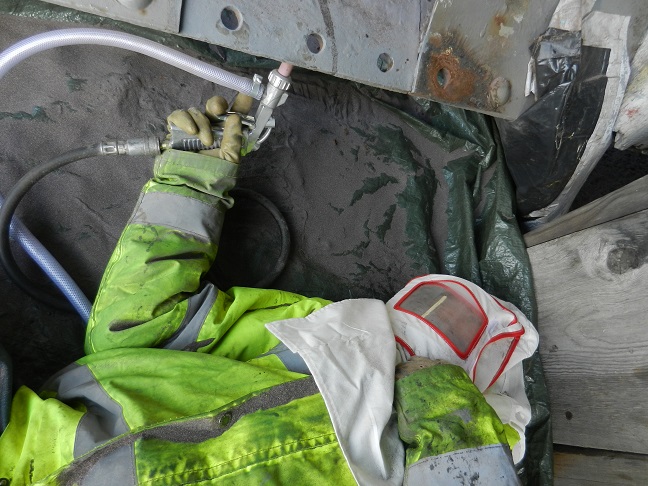
One of Dorothea's staff in protective gear laying next to the Bridge spot-blasting the underside prior to painting using a hard grit called aluminium oxide which scours away the rust but not the wrought iron. |
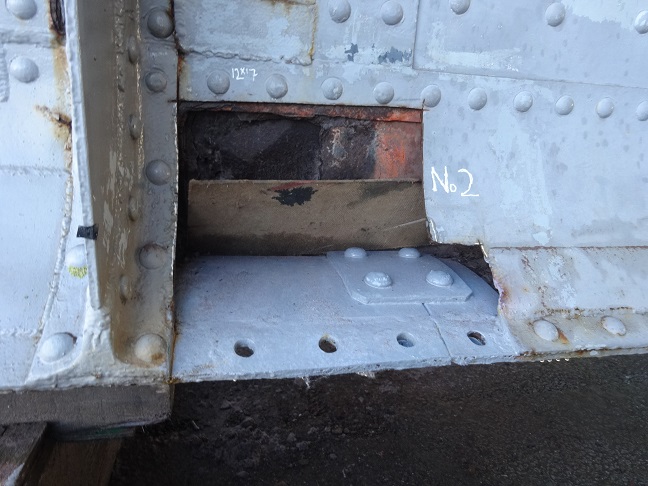
finished repair |
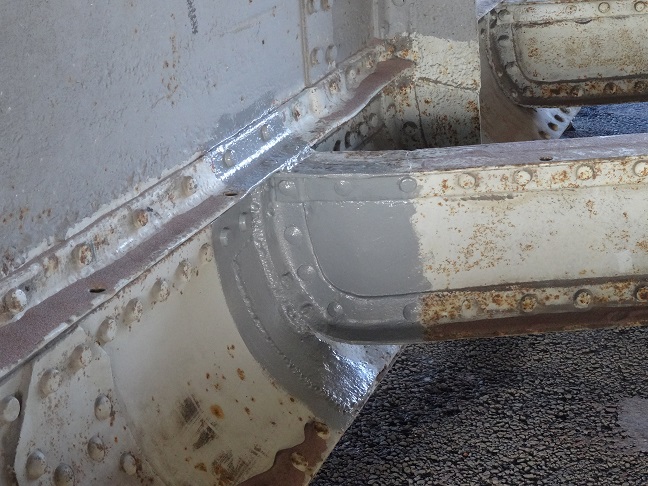
Another sample area blast-cleaned and painted |
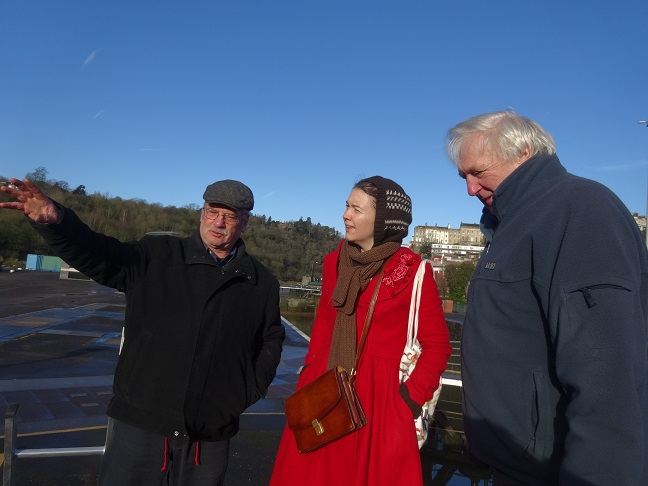
Geoff and Mike with Sarah- Underfall Yard's new Community, Learning and Volunteers Manager |
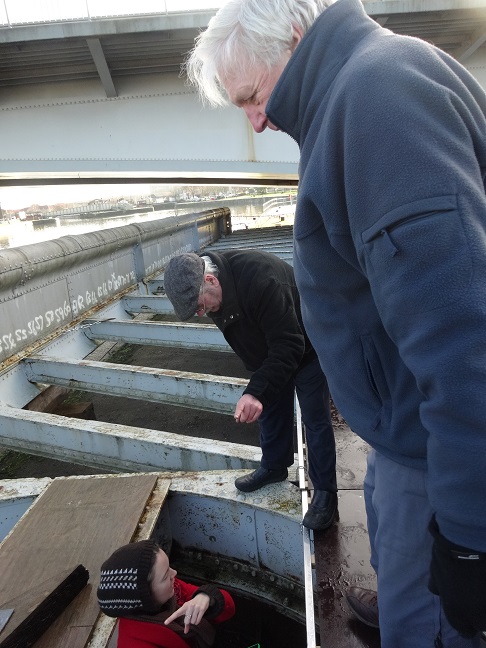
Geoff and Mike got Sarah down into the wheel pit |
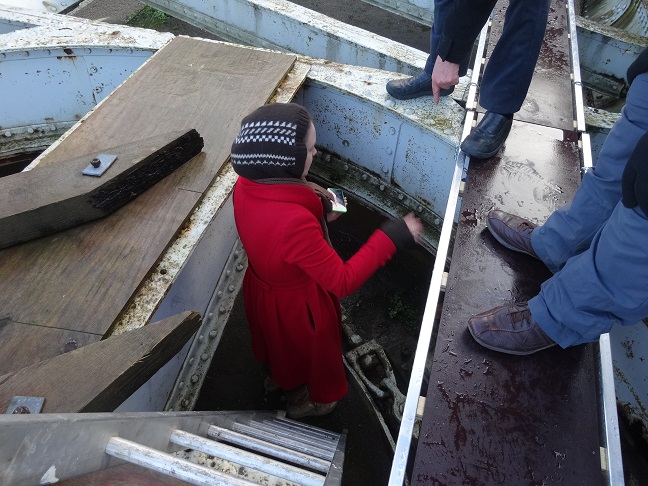
Sarah having a look for herself |
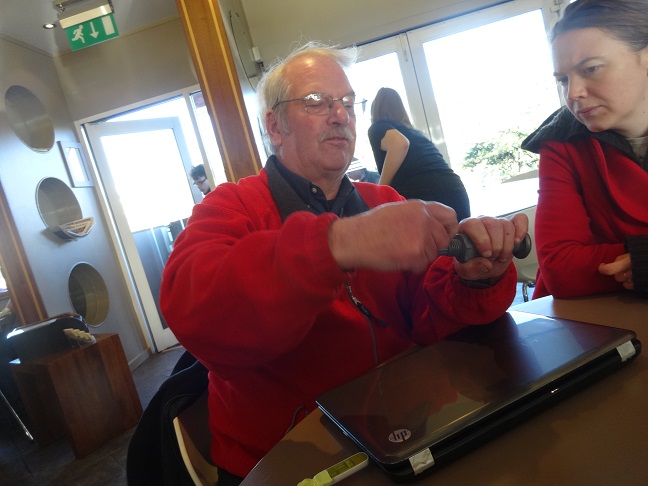
Geoff gave Sarah a quick powerpoint presentation and showed her how the friction-grip bolts work |
Monday 19 January: Hot rivetting day!
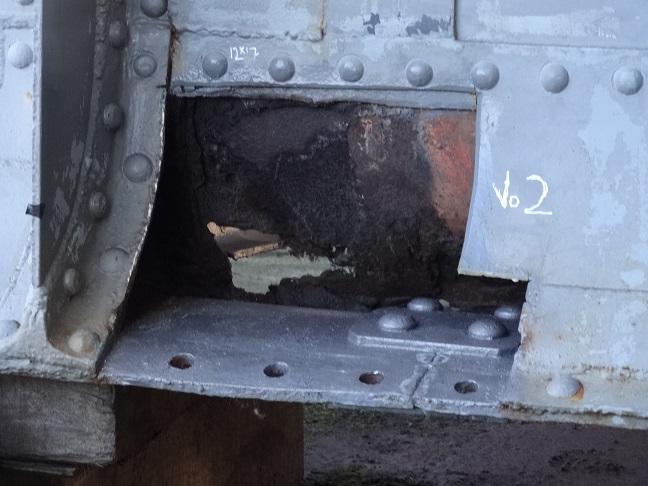
First one makes sure the inside section is clean and painted. The curved piece on the other side is so rotten at this point it will have to be replaced |
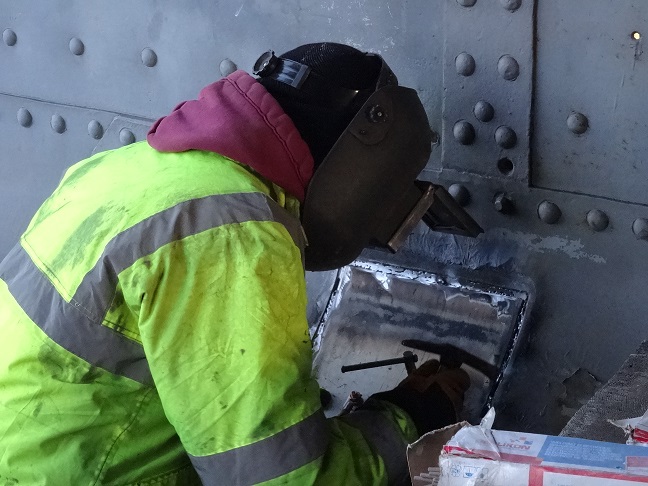
One welds the curved replacement patch in position. Rivet Holes lined up and checked |
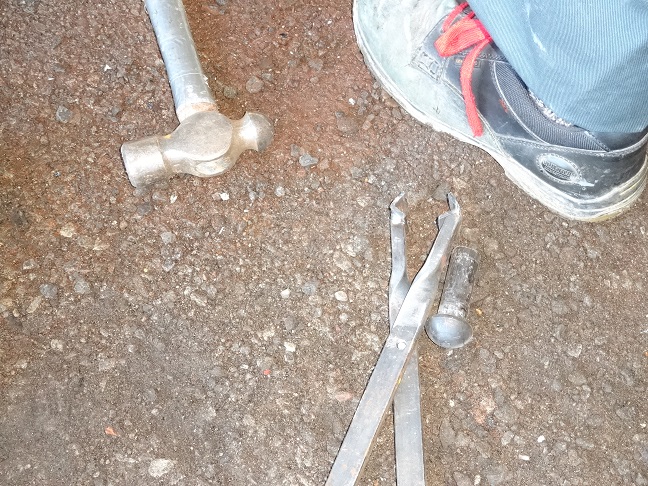
One gets the tongs and rivets- which must be the correct size since both ends will end up rounded and must hold the plates tightly together |
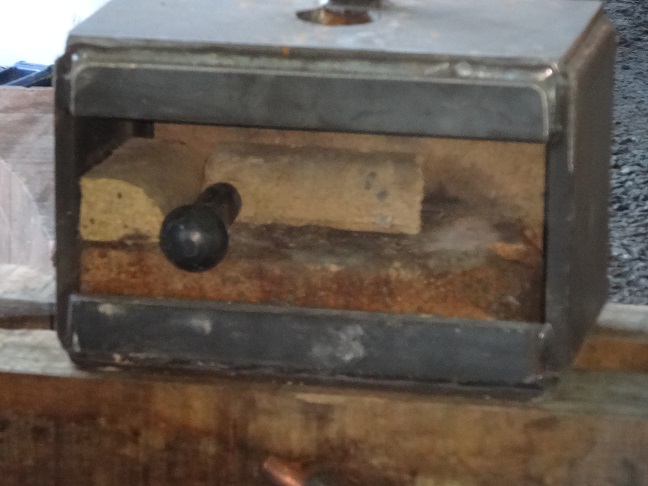
One makes a little oven to heat the rivets in |
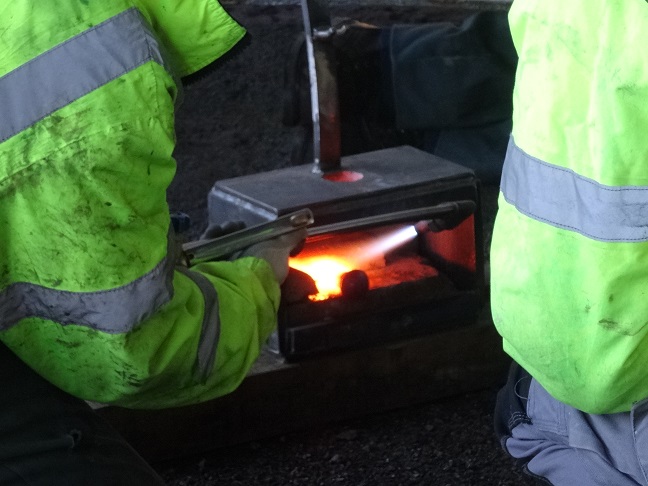
Heats up with the gas torch |
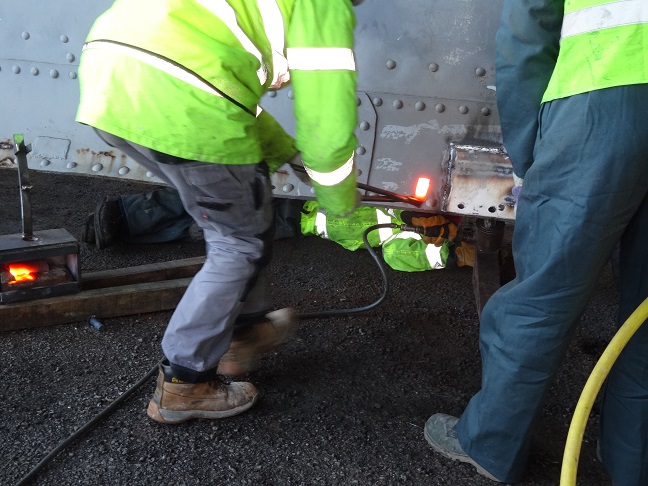
Runs over to the bridge with hot rivet |
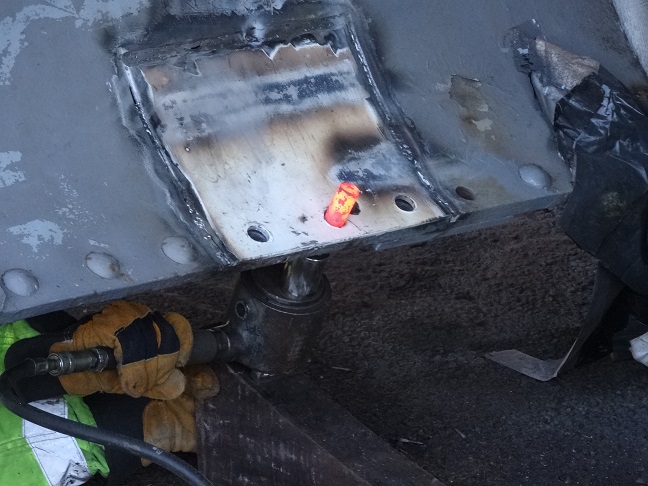
Puts it in the hole ready for the pneumatic hammer to hold the head |
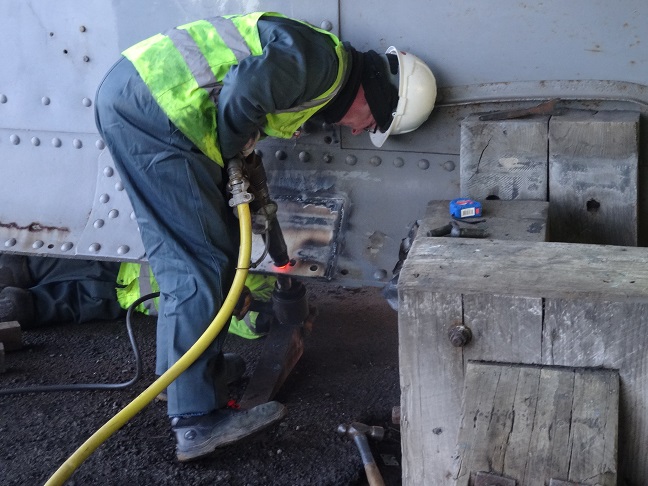
A 'holder-up' or 'backer-up' is used on the tail of the rivet. The energy from the hammer drives the work and the rivet against the inertia of the backer up. As a result, the tail of the rivet is rounded. The rivet does not harden on cooling, or it would be brittle. It does though contract and pull the plates tight which makes a really tight joint, hopefully water-tight (which is why it must be the right size and allow for the rounding). |
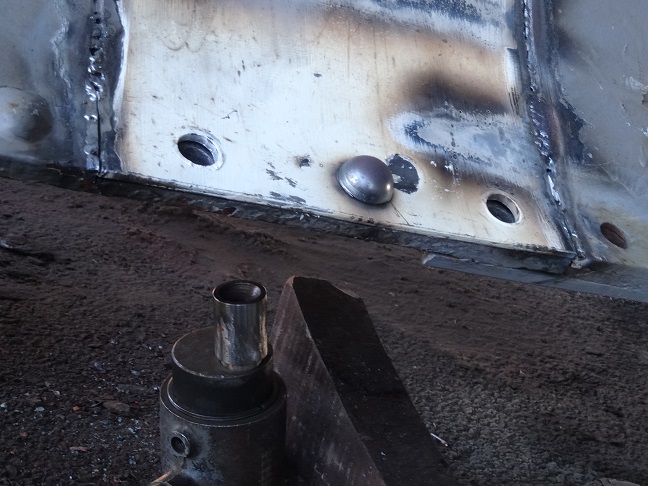
Looks good |
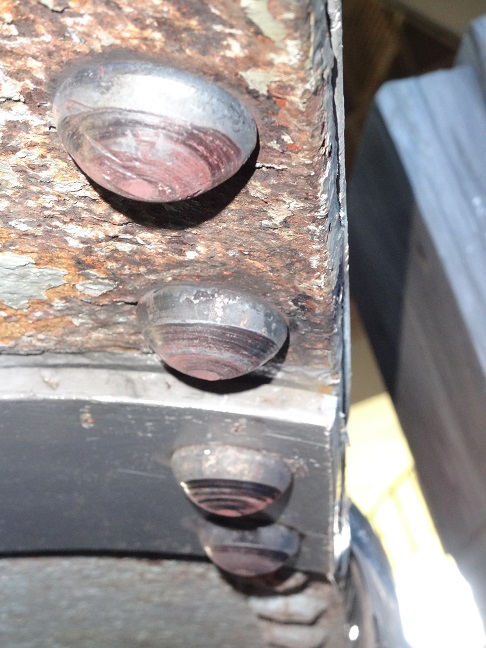
All done, bar tidying up the joins and painting |
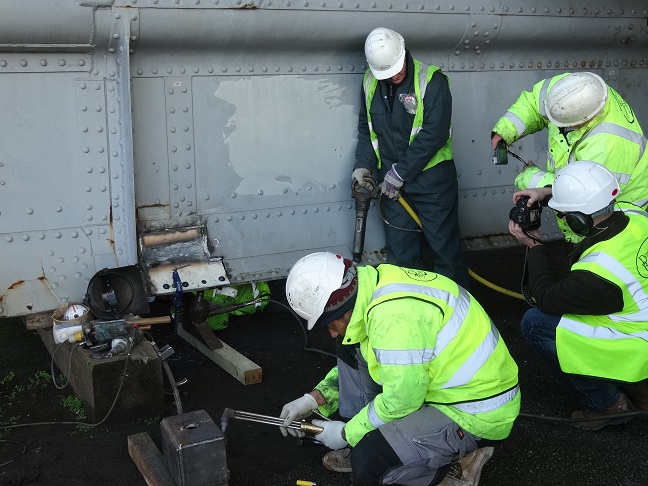
Its not every day one sees hot rivetting on the side of the docks so lots of photos. Julian Baldwin was there filming too |
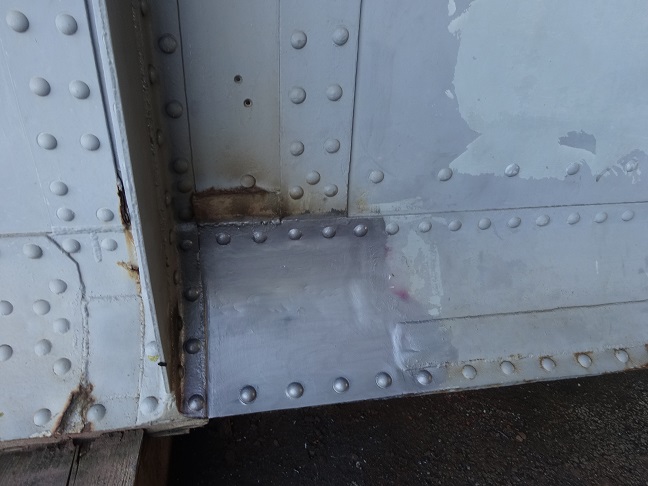
Completed job |
 Brunel's Other Bridge