Brunel Swivel Bridge Project Photos June 2014
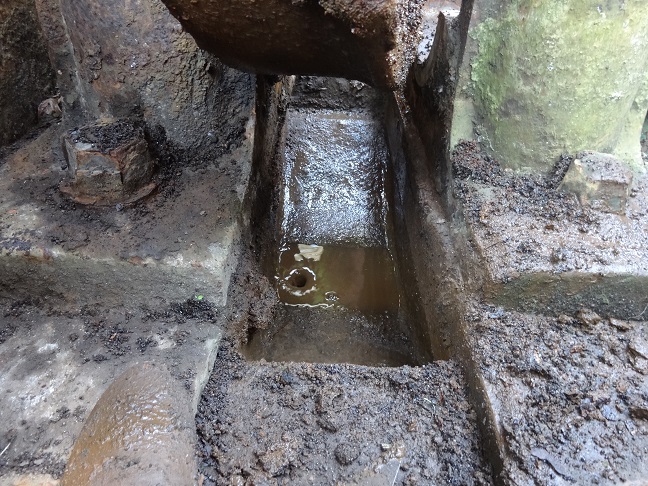 Mostly getting the wheel sumps clean so they can drain again. Two wheel sumps now have a satisfying vortex of water. Where it goes who knows! |
Page contents
- Work in 2014
- Saturday 21 June 2014
- No work on Sunday since big bike ride made access to the site impossible.
Work PHASE A Preparation and Basic Conservation by Volunteers
- Cleaning and painting rusty areas
- Unbolt and release the centre pintle casting
- Jack up Bridge a few inches
- Free up north tail wheel
- Release two rotation cables
- Lower bridge onto its pintle and track
- Free the pintle thread, rotate bridge a small amount and return to present position
- Locate and obtain copies of drawings and past reports. Write a conservation plan
- Seek letters of support
Contact Maggie Shapland (Maggie.shapland@gmail.com) if you wish to help.
Details of progress in 2014 and working days.
Saturday 21 June 2014
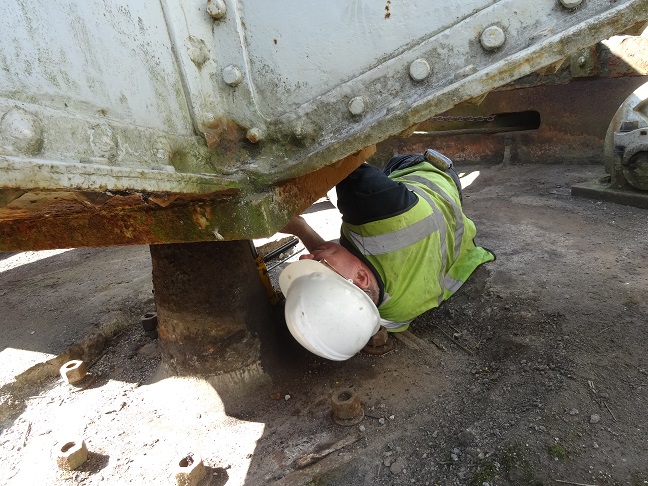
Mike having another look at the pintle and bearing |
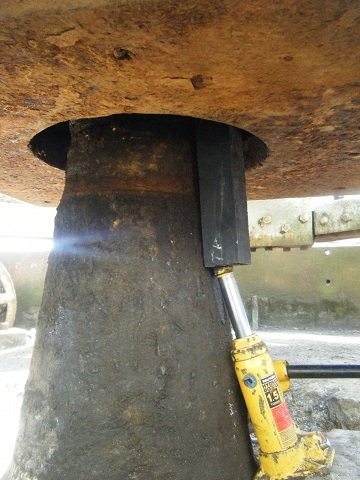
Trying to centre the bearing with a jack |
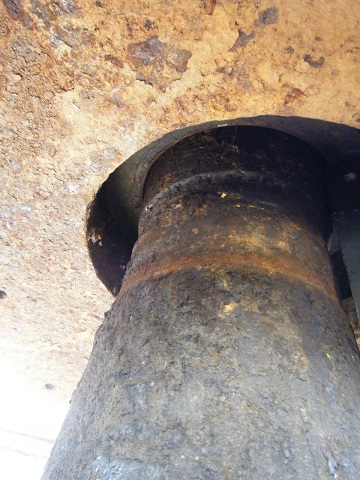
|
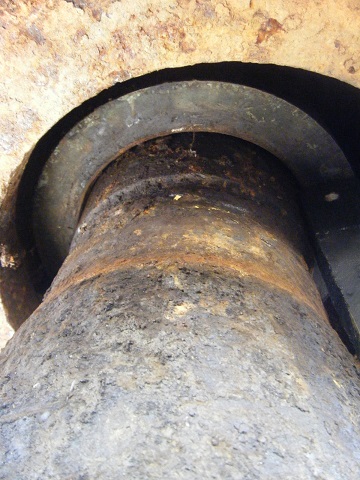
The bearing in relationship to the pintle |
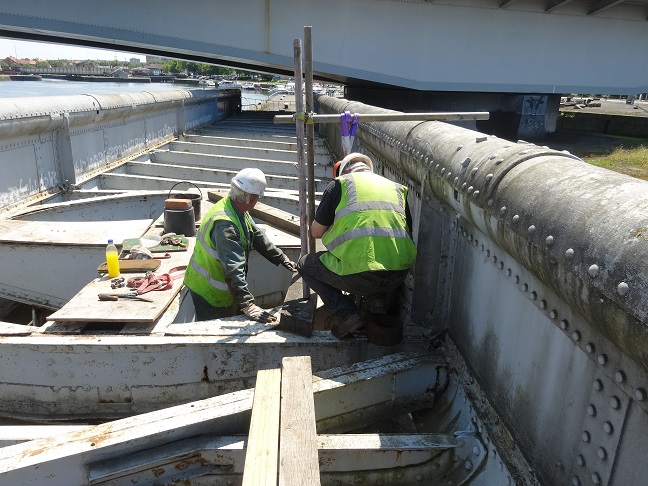
Geoff and Mike creating a simple crane structure to lift the heavy wheels |
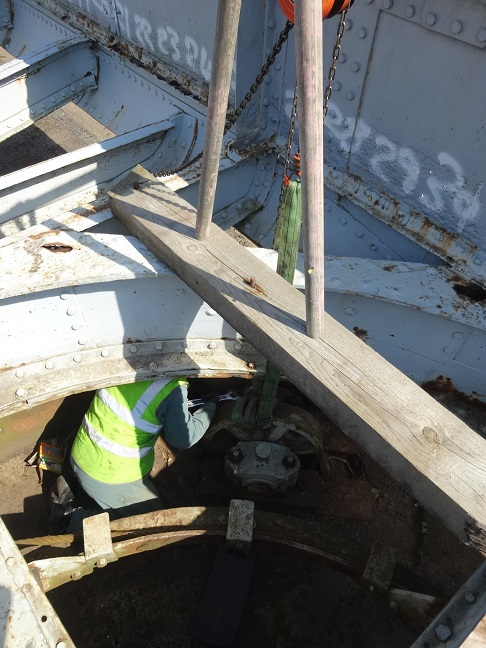
The first wheel pit was the north east one. Geoff undoing the nuts of the bearings. It was so much easier this time having greased the top bearings last year in very much smaller workspace without the bridge being lifted. |
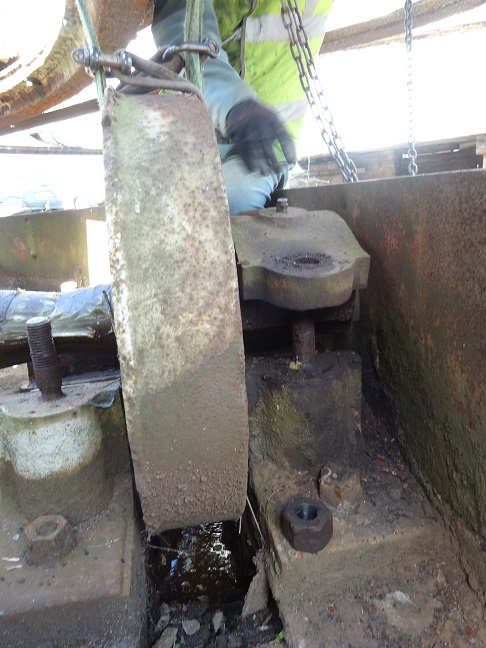
Lifting the wheel with the hoist meant we could lift the caps at the same time. These are quite heavy in their own right. The grease we put on last time on the top caps had done its job. Note the water and debris underneath. |
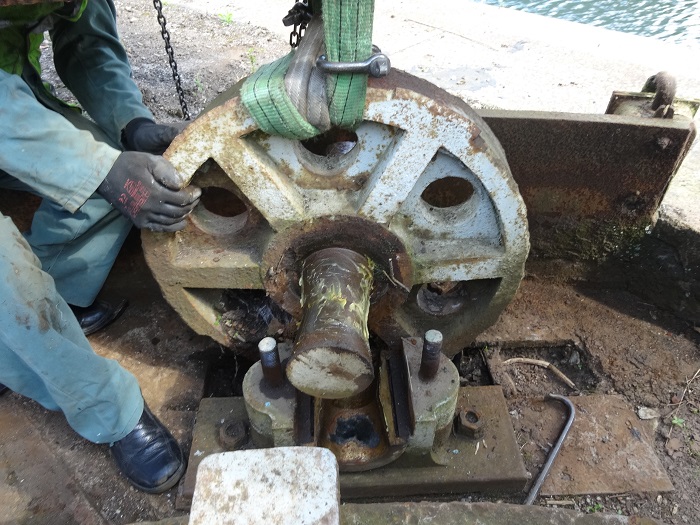
Note the mark on the bearing underneath the shaft indicting lack of grease and how the shaft and bearing are tapered to stop the wheel from running out of line. Shaft and bearing in good condition. |
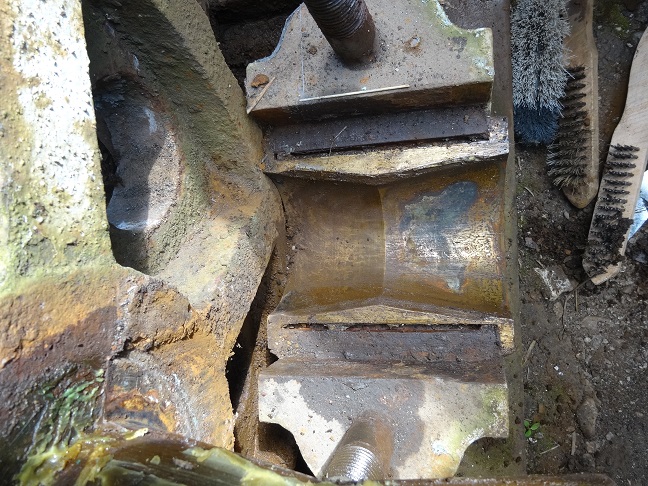
Closer view of the inside under bearing |
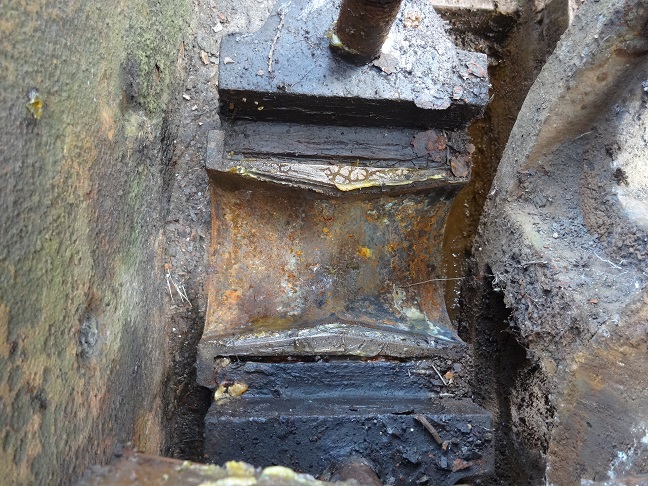
View of the outside bearing |
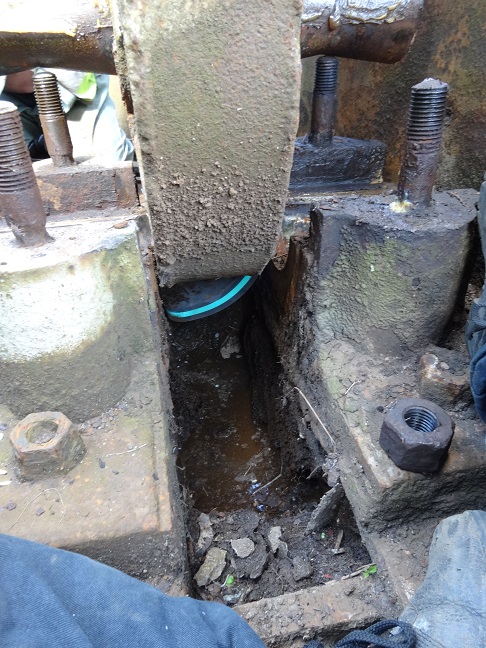
Time to get the accumulated debris and water out |
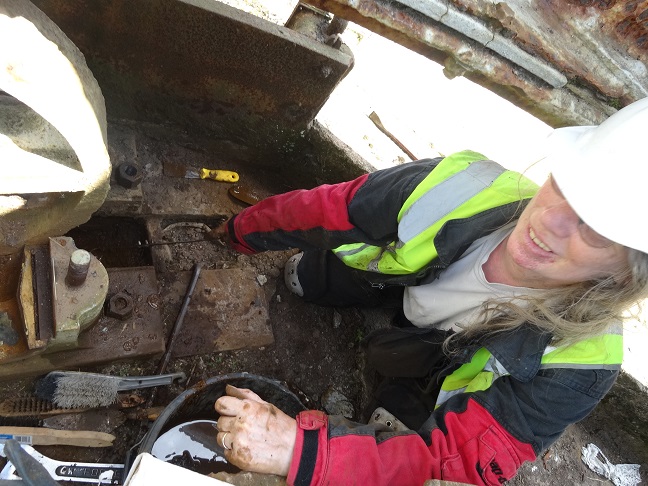
As usual, Maggie gets mucky but she was ably helped by Geoff. Two bucketfuls of thick debris mud was retrieved from the pit and in the holes of the wheel using scrapers, trowels and a patent ladle. |
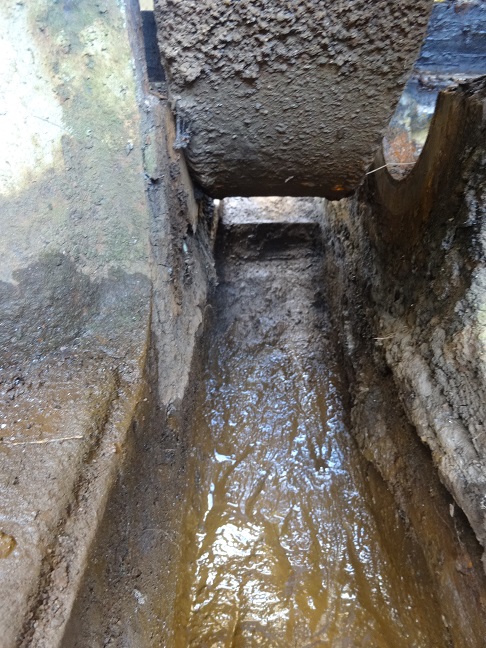
Nearing the end. The drain hole is coming into view onto the right hand side. Note the condition of the wheel. |
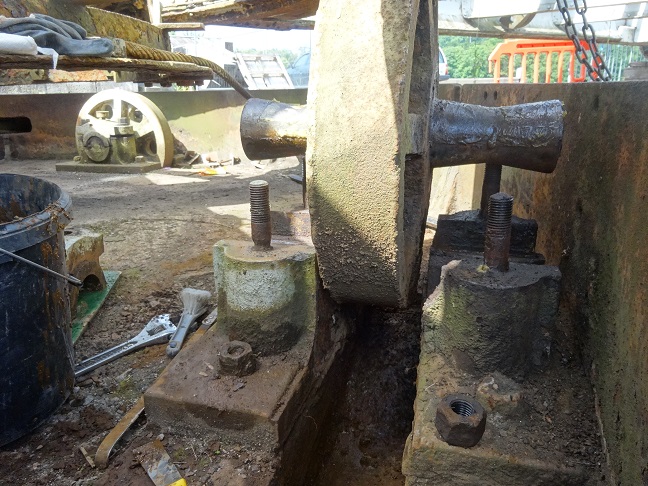
Good view of the hoised wheel and cleaner pit. Next wheel will be the north west wheel seen to the left. That was the one in worst condition. |
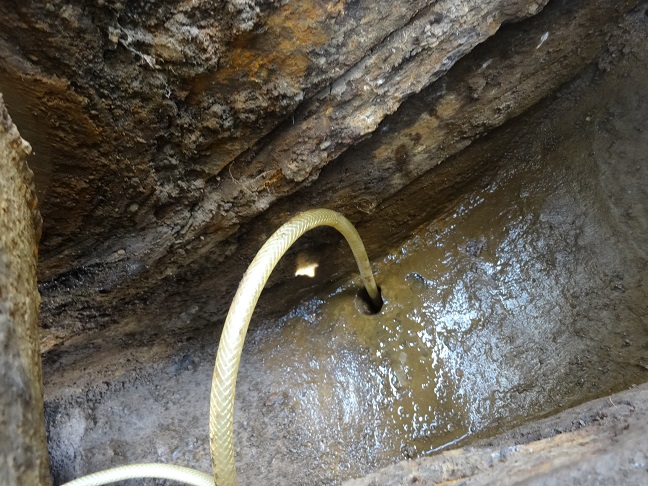
We applied compressed air to the drain hole expecting a big shower of mud but the exit was clear. So we poured a bucket of water which vanished with a satisfying vortex. |
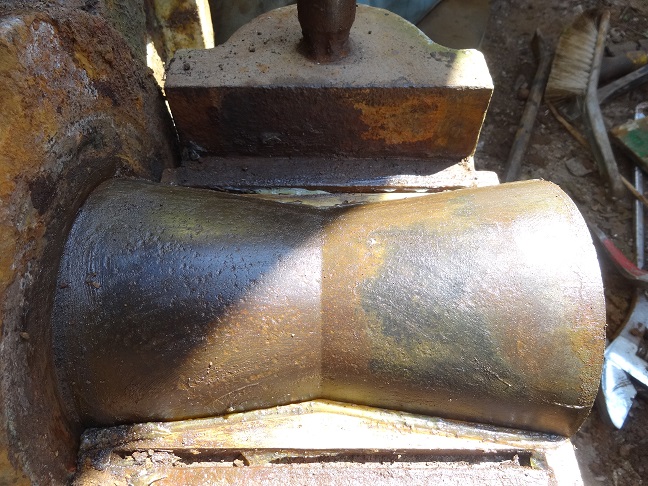
We then cleaned the shafts and bearings and reapplied grease ready to lower the wheel and put the caps back on. The wheel now turns beautifully. All in the space of 2 hours. |
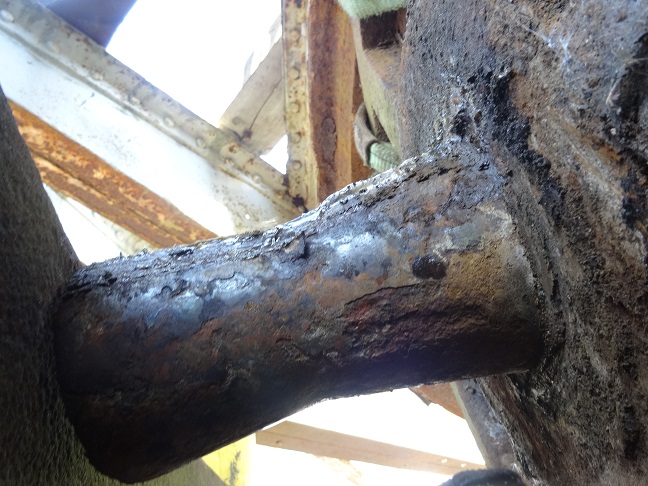
We then started on the north west wheel. The outside bearing is the most corroded of all the wheels. The grease we put on last year can be seen. |
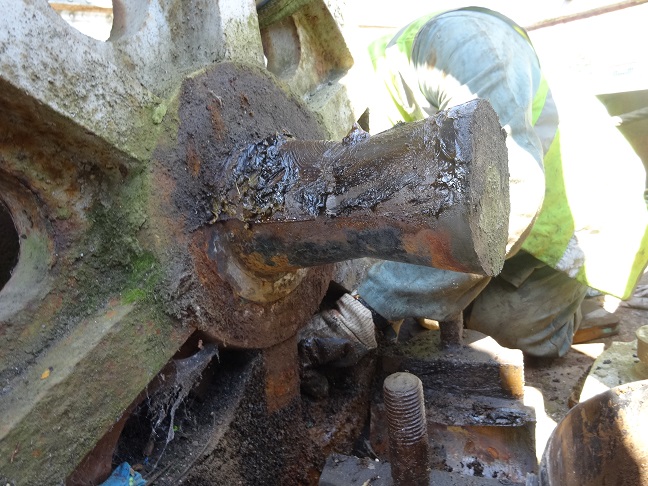
The inside shaft |
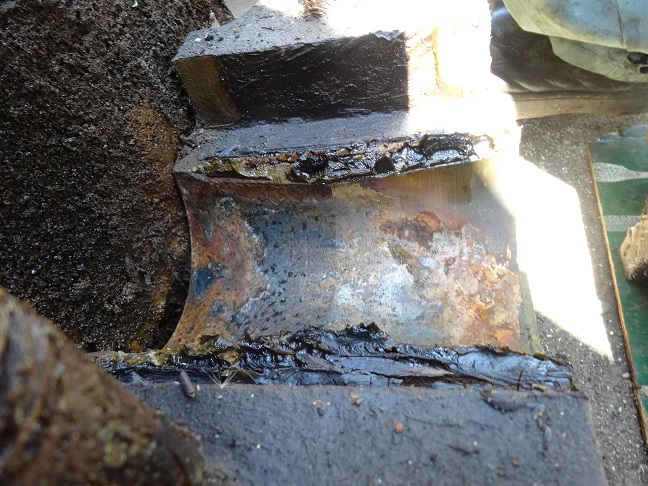
The bearing clearly shows lack of lubrication |
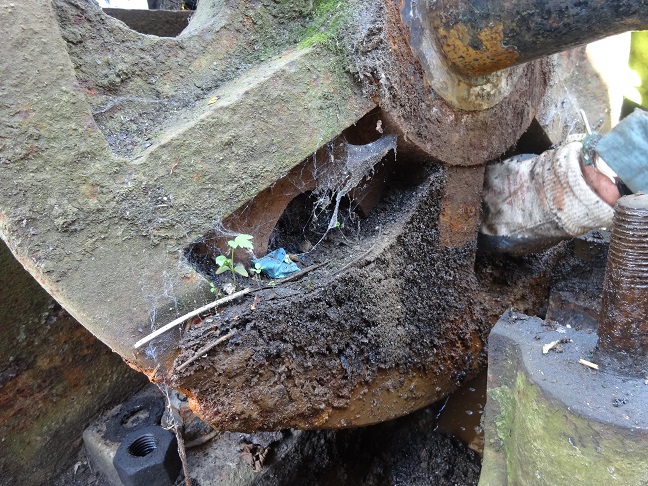
The wheel is full of gritty mud as is the wheel pit. |
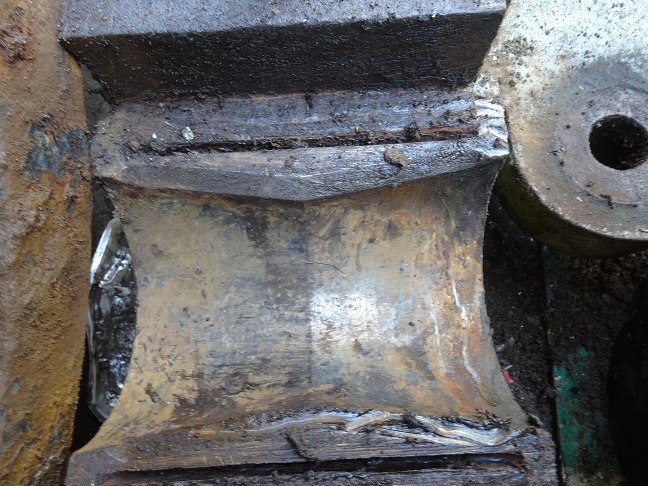
The outside bearing |
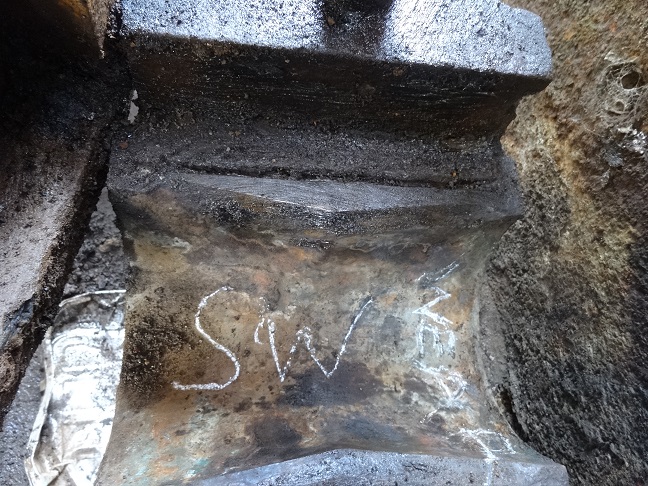
The inside bearing. |
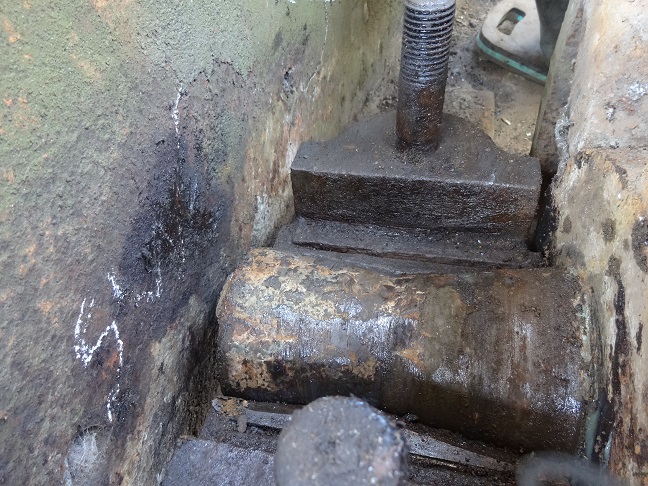
Another view of the outside shaft |
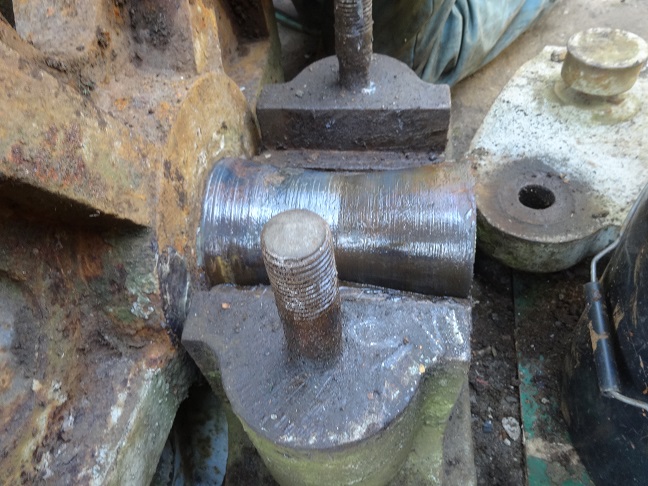
and the inside shaft |
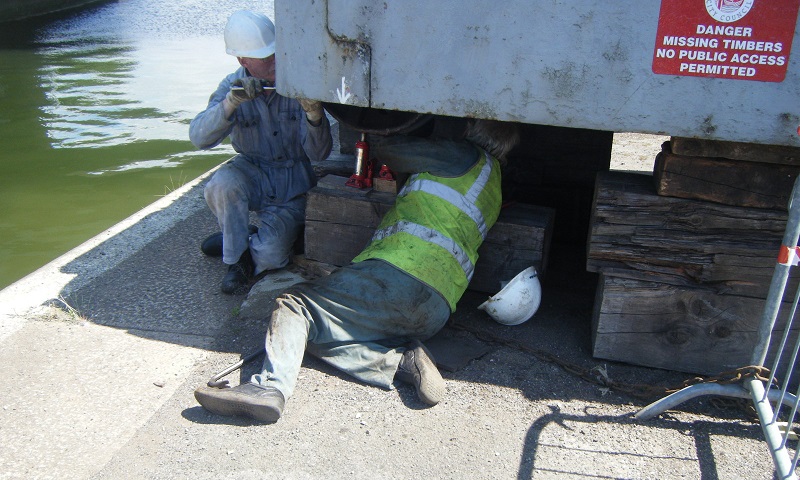
Martyn and Geoff dissembling the bearing |
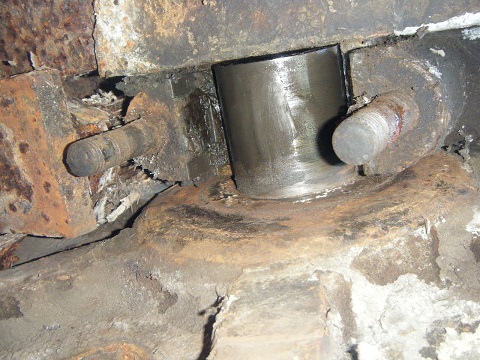
the bearing of the east tail wheel. Good condition |
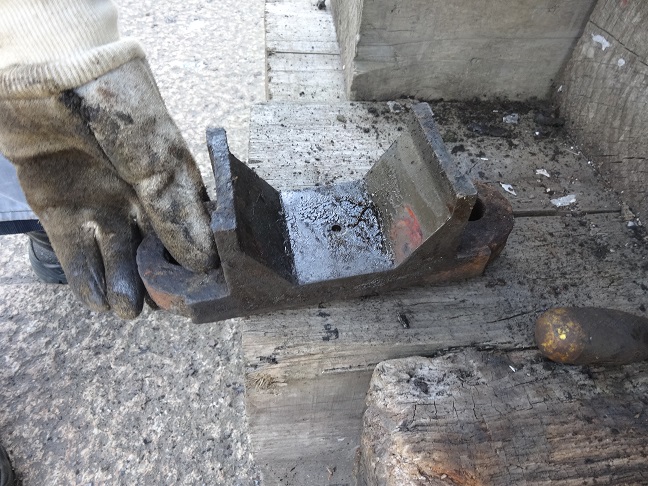
The bearing holder |
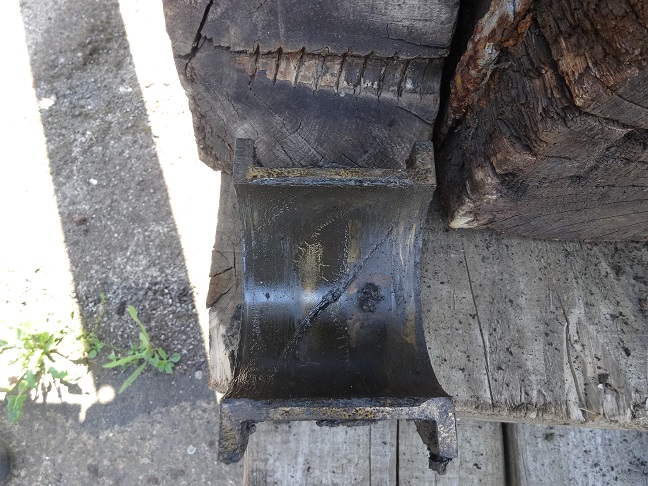
normal parallel sided bearing with scroll for grease |
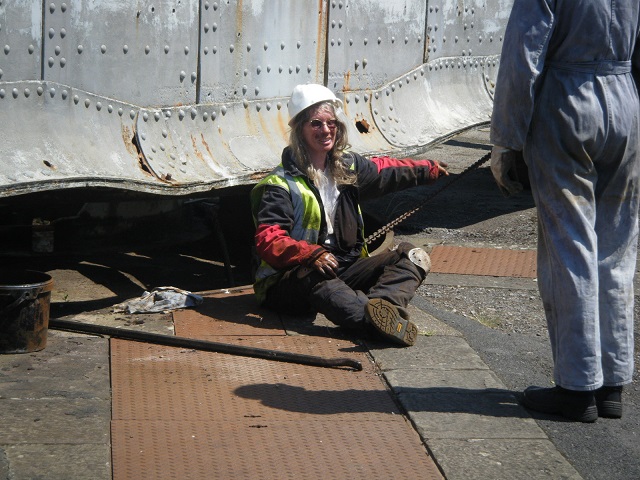
Suitable dirty, Maggie having a rest from the bearings in the lovely sunshine. A good hot bath was needed. |
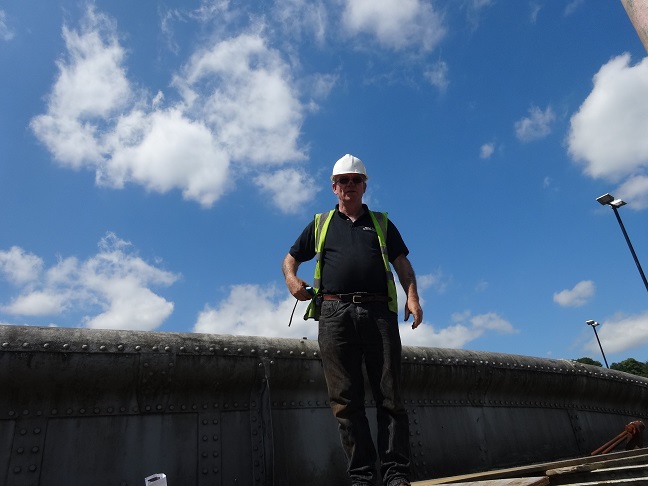
Mike in supervisory position standing over the proceedings |
 Brunel's Other Bridge